IDEA使用JRebel进行热部署教程
1. 安装JRebel插件
在IDEA->Settings-plugin下载Jrebel的插件,下载好了重启程序使插件生效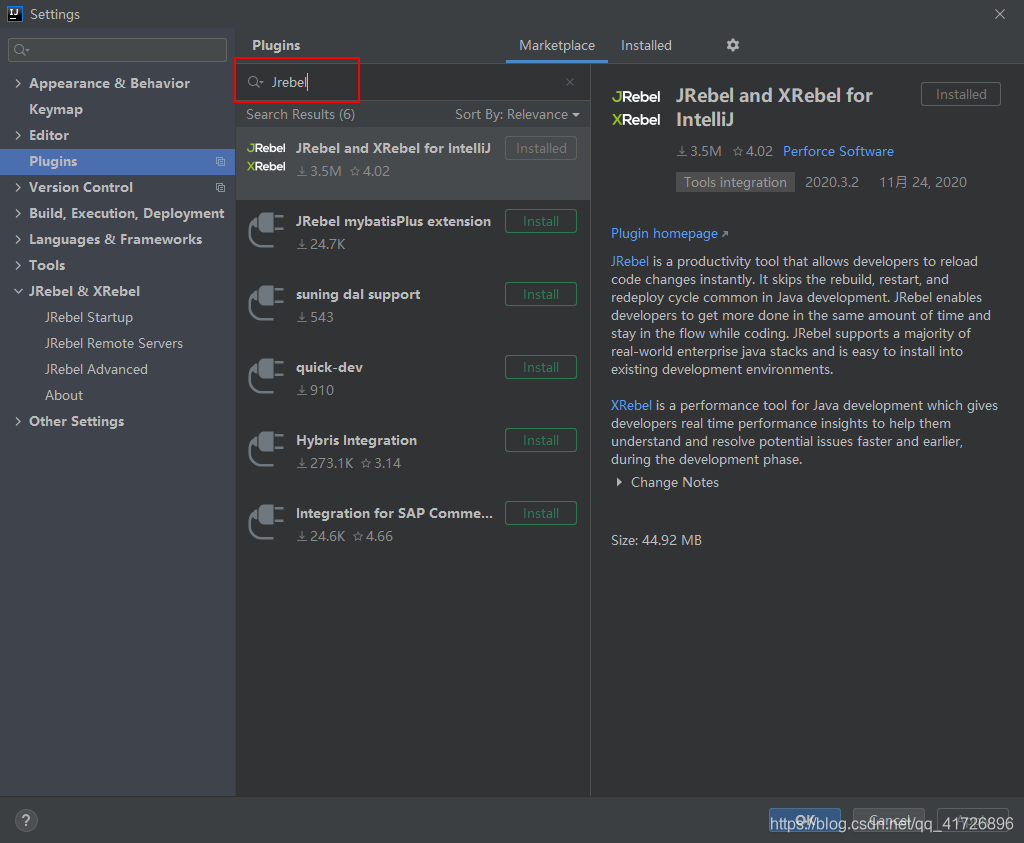
2. 激活
直接进入到jrebel的配置项中,点击active now链接进入到激活界面,选择Team URL(connect to online licensing service)方式激活

第一行输入: http://jrebel.qekang.com:80/{guid} , guid在https://jrebel.qekang.com/ 这个网站获得
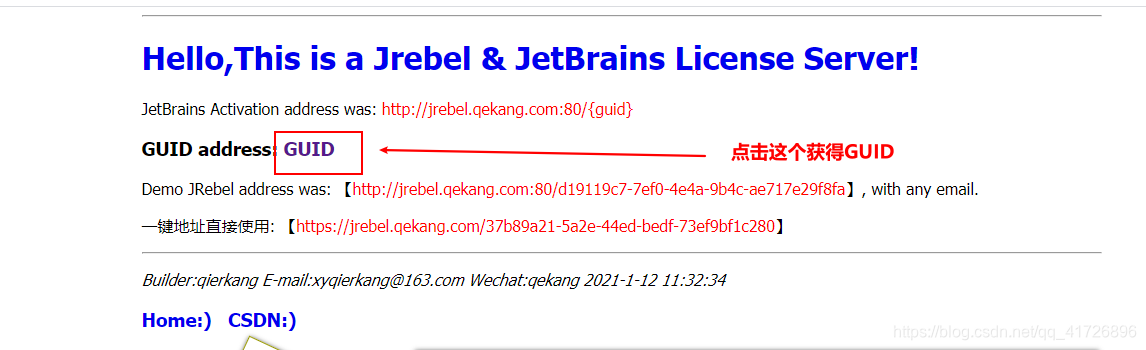
第二行的email输入任意一个符合个数的email地址即可
3. JRebel使用
设置IDEA自动编译项目,将Build project automatiacally这个选下勾选上。

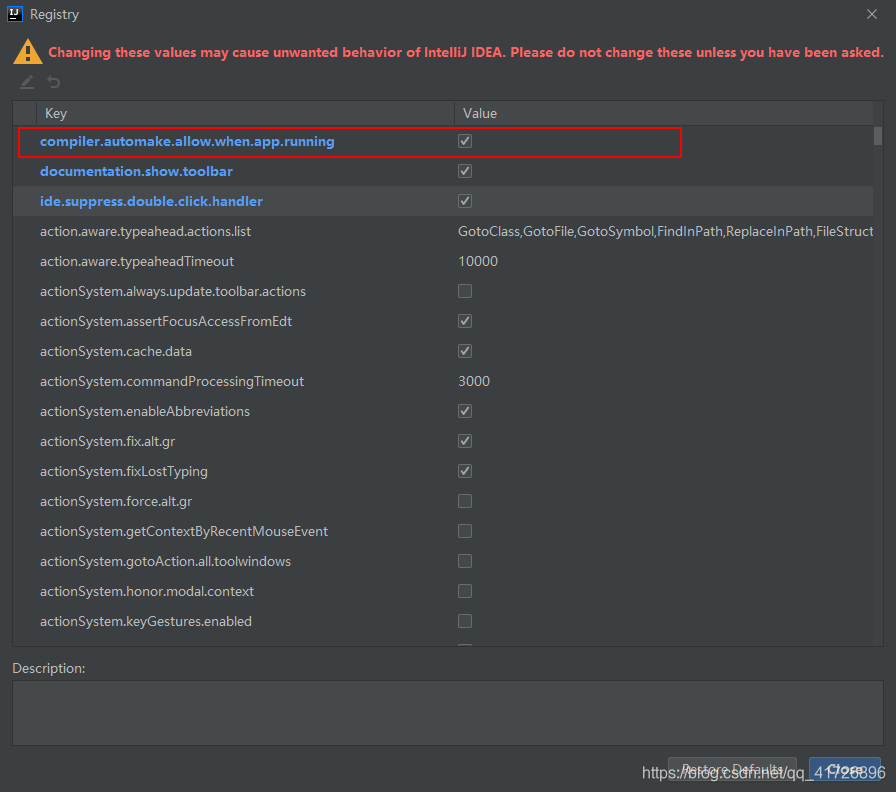
按住ctrl + shift + alt +/ 这四个键, 点击registry,将compiler.automake.allow.when.app.running这个选项勾选上,如果已经勾选了,跳过此步骤即可。

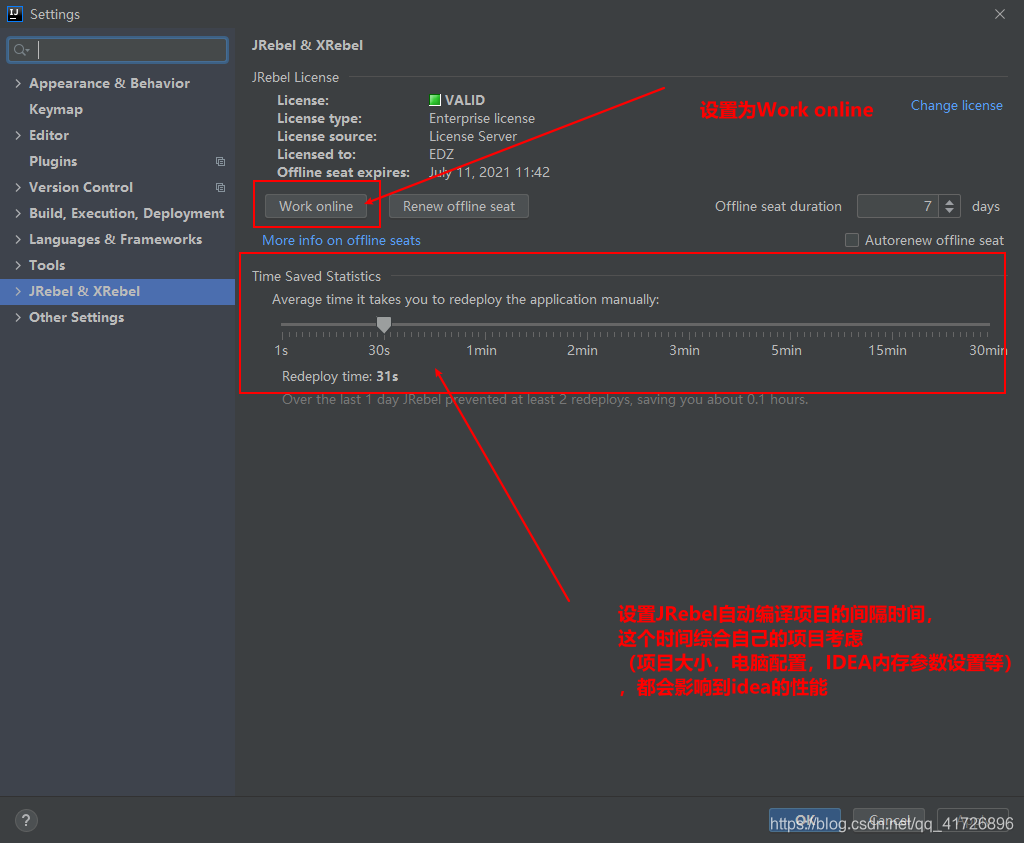
- 设置JRebel Work online 和 Redeploy time
- 勾选要使用JRebel的项目,这里会在每个项目下面生成一个rebel.xml文件。可通过设置git的.gitignore将这个文件忽略掉。
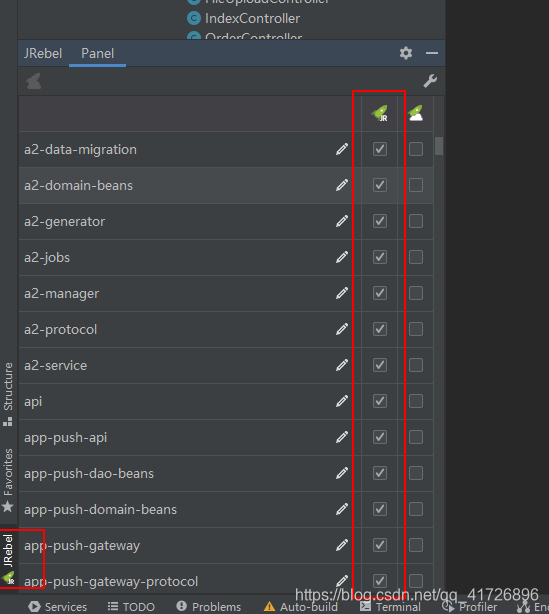
在git项目的根目录下,创建一个.gitignore文件,将一下内容复制进去即可。git会自动读取文件将符合规则的文件隐藏掉。
*.class

# Mobile Tools for Java (J2ME)
.mtj.tmp/

# Package Files #
#*.jar
*.war
*.ear

# virtual machine crash logs, see http://www.java.com/en/download/help/error_hotspot.xml
hs_err_pid*

# ---- Maven
target/
dependency-reduced-pom.xml

# ---- IntelliJ IDEA
*.iws
*.iml
*.ipr
.idea/

# ---- Eclipse
.classpath
.project
.settings/
.metadata/

# ---- Mac OS X
.DS_Store?
.DS_Store
Icon?
# Thumbnails
._*
# Files that might appear on external disk
.Spotlight-V100
.Trashes

# ---- Windows
# Windows image file caches
Thumbs.db
# Folder config file
Desktop.ini

.java-version
#--compile
bin/
tmp/
build/

.gradle/
.vscode/
.tmp

# --- JRebel
/**/rebel.xml
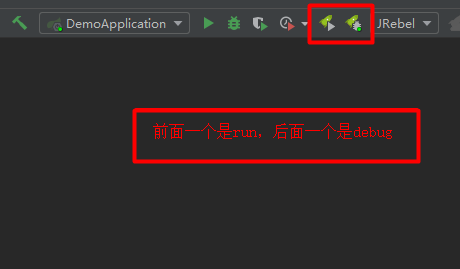
启动项目
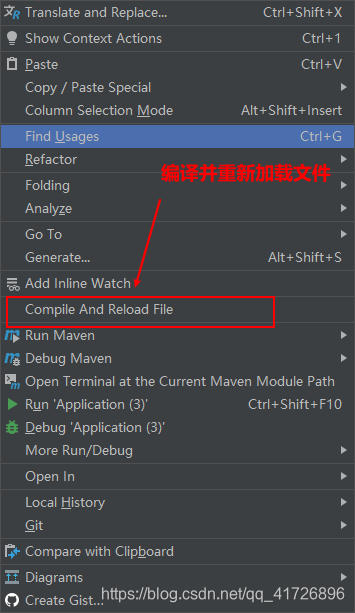
修改文件之后使文件热加载
每个文件修改之后,鼠标右键点击文件,点击Compile And Reload File使文件生效
至此,JRebel热部署的内容分享完毕,希望能够对大家有所帮助。